
Have you ever wondered how a simple ingredient could transform your meals and boost your health? Meet fermented honey garlic! This unique blend not only enhances flavors but also offers a plethora of health benefits. Let’s dive into how you can create this superfood in your own kitchen.
Overview
Fermented honey garlic is special for its ability to combine the potent health properties of garlic with the soothing sweetness of honey. This recipe takes about 30 minutes to prep, and it requires a few days to ferment, but the wait is worth it! The difficulty level is easy, making it perfect for beginner cooks and experienced chefs alike.
Essential Ingredients
- 1 cup whole garlic cloves, peeled and slightly crushed: Garlic is known for its immune-boosting properties and its ability to improve heart health.
- 1 cup raw honey (or more, as needed to cover garlic): Raw honey offers antioxidants and has natural antibacterial qualities.
Substitutions & Variations:
- Garlic: You can use garlic powder if you can’t find whole cloves, but the flavor won’t be as robust.
- Honey: For a vegan option, try using agave syrup.
Step-by-Step Instructions
1. Prepare the Garlic: Start by peeling your garlic cloves. Slightly crush them to enhance the infusion of flavors.
*Pro Tip*: Use the flat side of a knife to crush the cloves gently.
2. Combine Ingredients: Place the crushed garlic into a clean, dry jar. Pour the raw honey over the garlic until it is fully covered.
3. Mix Well: Stir or shake the jar gently to ensure the garlic is evenly coated with honey.
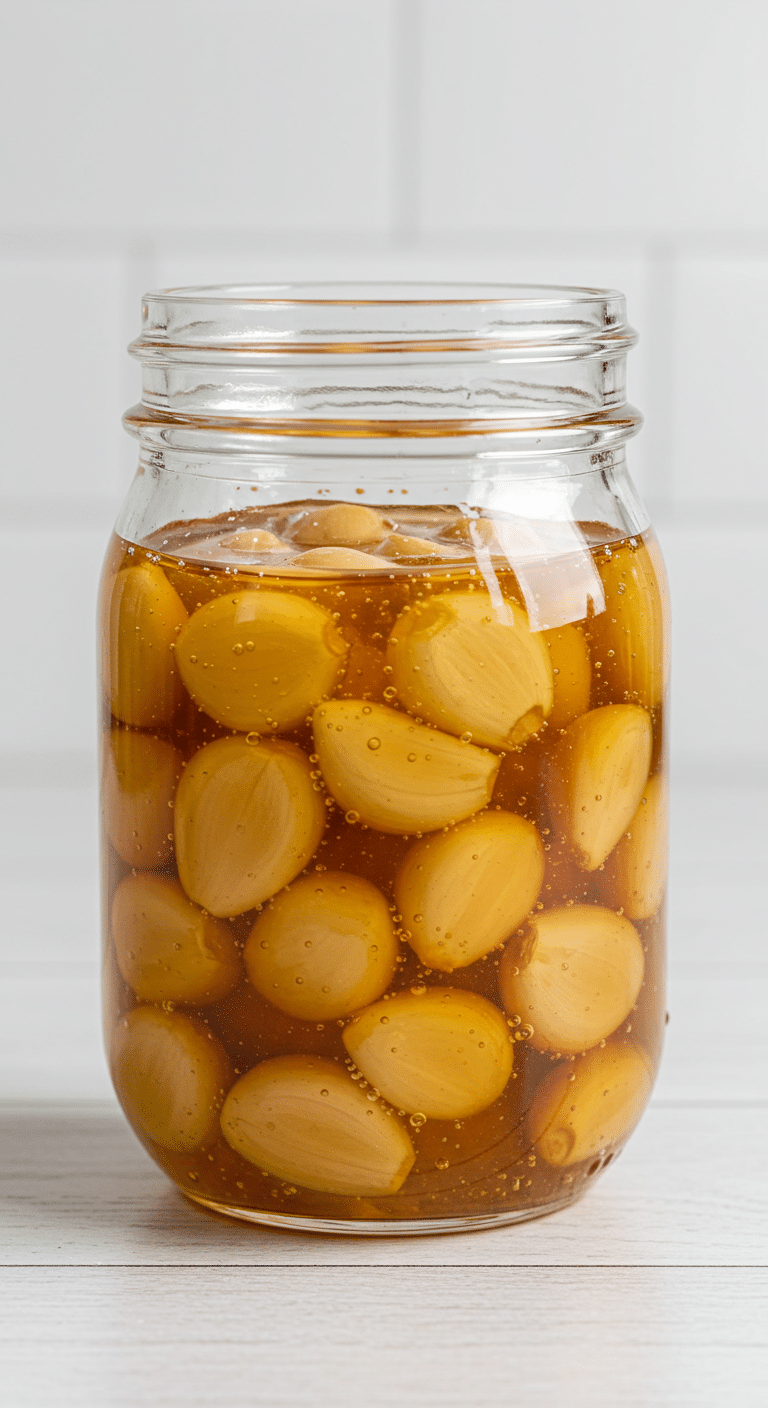
4. Seal and Store: Seal the jar tightly and leave it at room temperature for about 1-2 weeks to ferment. You might see bubbles, which is a good sign!
5. Taste Test: After a week, taste your fermented honey garlic. If it’s tangy and delicious, it’s ready! If not, let it ferment for another week.

Assembly & Presentation
Once fermented, your fermented honey garlic can be enjoyed in many ways. Use it as a glaze on meats, a topping for toast, or a sweet addition to marinades. To plate, place a few cloves on a small dish drizzled with extra honey, showcasing its inviting golden hue.
Storage & Make-Ahead Tips
- Storage: Keep your fermented honey garlic in a sealed jar in the refrigerator. It should last for up to 6 months.
- Freezing: Although you can freeze it, the texture might change. For the best experience, enjoy fresh.
Recipe Variations
1. Spicy Twist: Add a few whole chili peppers for a spicy kick.
2. Herb Infusion: Toss in fresh herbs like rosemary or thyme for a flavor boost.
3. Citrus Zest: Add lemon or orange zest for a refreshing citrus flavor.
Conclusion
Experiment with your fermented honey garlic! Use it in different recipes, and share your experiences. I’d love to hear how you incorporate this superfood into your meals!
FAQs
1. How long does it take for fermented honey garlic to be ready?
It typically takes 1 to 2 weeks to ferment.
2. Can I use regular honey instead of raw honey?
You can, but raw honey offers more health benefits.
3. Is fermented honey garlic safe to store in the fridge?
Yes, it is safe and can last for up to 6 months when refrigerated.
4. What health benefits does fermented honey garlic provide?
It can improve heart health, boost the immune system, and has antibacterial properties.
Now that you know how simple and beneficial it is to make fermented honey garlic, why wait? Start your fermentation journey today!
Fermented Honey Garlic: Unlock the Benefits of This Tasty Superfood

Fermented honey garlic is a simple, immune-boosting natural remedy made by fermenting whole garlic cloves in raw honey. It develops a sweet, tangy, and savory flavor while preserving the health benefits of both ingredients.
Ingredients
- 1 cup whole garlic cloves, peeled and slightly crushed
- 1 cup raw honey (or more, as needed to cover garlic)
Instructions
- Peel the garlic cloves and gently crush them using the flat side of a knife to release flavor.
- Place the crushed garlic into a clean, dry jar.
- Pour raw honey over the garlic until all cloves are fully covered.
- Stir or gently shake the jar to ensure the garlic is evenly coated.
- Seal the jar tightly and leave it at room temperature for 1–2 weeks to ferment. Look for small bubbles, which indicate fermentation.
- After one week, taste your fermented honey garlic. If tangy and flavorful, it’s ready; if not, allow to ferment for another week.
Notes
- You can substitute garlic cloves with garlic powder, though the flavor will be less robust.
- For a vegan alternative, replace honey with agave syrup.
- Use a clean, dry jar to prevent unwanted bacteria.
- Bubbles during fermentation are a natural and healthy sign.