Let me tell you about the baking project that completely changed my understanding of what breakfast pastry can be: these Morning Buns that somehow combine the sophisticated flaky layers of croissant dough with the comforting appeal of cinnamon rolls. We’re talking about individual pastries that’ll make your kitchen smell like a French bakery and your friends think you’ve secretly gone to pastry school.
I discovered this recipe during one of those phases when I was desperately trying to level up my baking game beyond basic cookies and muffins. These Morning Buns are definitely not for beginners – they use real laminated pastry technique that requires patience and a bit of technique – but the results are so incredibly worth it that you’ll never look at store-bought pastries the same way again.
The orange zest adds this bright citrus note that elevates the whole experience beyond regular cinnamon rolls, while that generous cinnamon-sugar coating creates an irresistible exterior that contrasts beautifully with the tender, flaky interior. It’s like croissants and cinnamon rolls had the most perfect pastry baby.
Why These Morning Buns Are the Ultimate Breakfast Flex
Here’s what makes these Morning Buns absolutely extraordinary – they use authentic laminated pastry technique to create incredibly flaky layers, just like professional croissants. The individual muffin tin presentation allows for perfect portioning, while the orange zest provides this unexpected brightness that completely distinguishes them from ordinary cinnamon rolls.
The Commitment Stats:
- Total time: 5 hours 30 minutes (this is a weekend project, folks!)
- Active time: 1 hour of actual work
- Difficulty: Advanced (but I’ll walk you through every step)
- Yield: 12 gorgeous, bakery-style buns
What I absolutely love about these Morning Buns is how the lamination process creates distinct flaky layers with that golden-brown color that just screams professional bakery quality. The time investment is real, but the results justify every single minute.
Table of Contents
Table of Contents
Everything You Need for These Show-Stopping Morning Buns
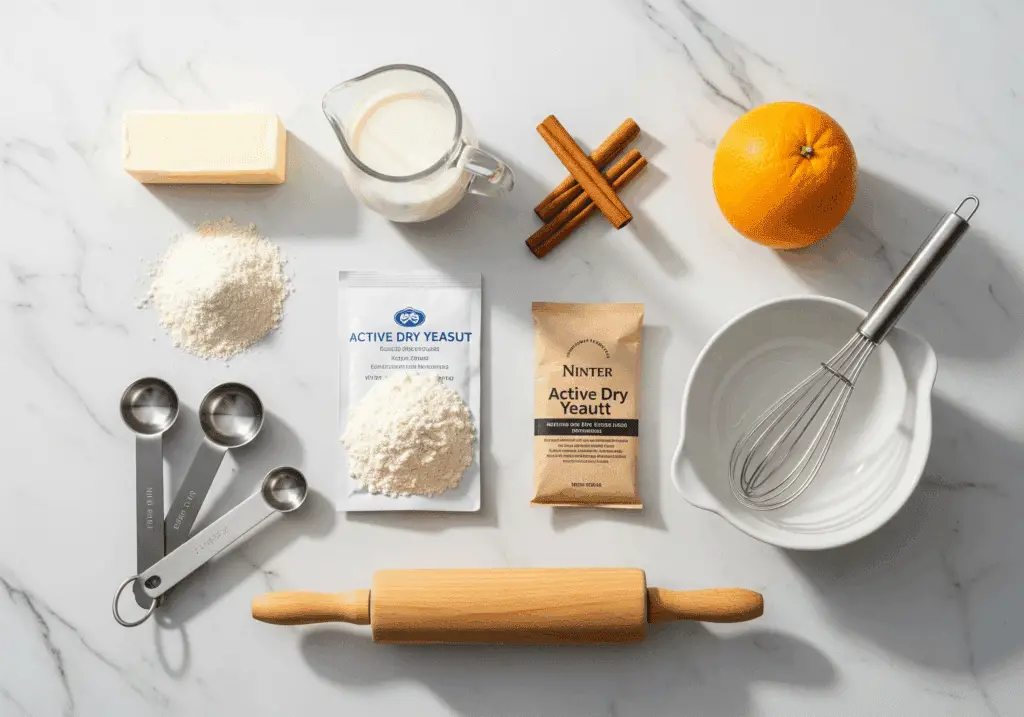
Let me break down what goes into these beauties. The ingredient list is actually pretty straightforward – it’s the technique that makes them special:
For the Butter Block (the lamination magic):
- 1-1/2 cups butter, softened
- 1/3 cup all-purpose flour (this stabilizes the butter)
For the Enriched Dough:
- 1 package (1/4 ounce) active dry yeast
- 1/4 cup warm water (110°-115°F)
- 1 cup warm 2% milk (110°-115°F)
- 1/4 cup sugar
- 1 large egg, room temperature
- 1 teaspoon salt
- 3-1/2 to 3-3/4 cups all-purpose flour
For the Orange Cinnamon Filling:
- 1/2 cup sugar
- 1 tablespoon grated orange zest (this is the secret!)
- 2 teaspoons ground cinnamon
For the Coating:
- 1 cup sugar
- 1 tablespoon ground cinnamon

Real Talk About Your Ingredients:
Butter quality matters: Use good European-style butter if you can get it – the higher fat content creates better layers and richer flavor.
Temperature is everything: Those milk and water temperatures aren’t suggestions. Too hot kills the yeast, too cool doesn’t activate it properly.
Orange zest magic: This is what makes these Morning Buns special. Use a microplane grater and only get the colored part – the white pith is bitter.
How to Make These Incredible Morning Buns (The Adventure Begins)
Alright, let’s dive into the actual magic-making. This is definitely the most advanced recipe I’ve shared, but I’ll walk you through every step.
Step 1: Create the Butter Block
Beat your softened butter and flour until combined, then spread into a 12×6-inch rectangle on waxed paper. Cover with another sheet and refrigerate for at least 1 hour until firm but pliable.
This butter block is what creates those gorgeous flaky layers, so getting the temperature right is crucial.
Step 2: Make the Enriched Dough
Dissolve yeast in warm water in a large bowl. Add warm milk, sugar, egg, salt, and 2 cups flour, beating until smooth. Stir in enough remaining flour to form a soft dough.
Step 3: Knead Like You Mean It
Turn the dough onto a floured surface and knead for 6-8 minutes until smooth and elastic. The dough should be slightly tacky but not sticky when properly developed. This is where you build the gluten structure that’ll hold those butter layers.
Step 4: The Lamination Dance Begins
Here’s where things get exciting (and slightly nerve-wracking). Roll your dough into a 14-inch square. Remove the butter from the fridge and let it stand briefly until it reaches 55-60°F – this is the sweet spot where it’s pliable but not soft.
Place the butter block on half the dough, fold the other half over, and seal the edges completely. You’re essentially wrapping the butter in dough.
Step 5: Create Those Gorgeous Layers
Roll the butter-dough package into a 15×9-inch rectangle, then fold it into thirds like a letter. This is your first fold. Repeat this rolling and folding process twice more, rotating the dough 90 degrees between folds.
If the butter starts getting soft, pop everything in the fridge for 20 minutes to firm up. Temperature control is everything here.
Step 6: The Final Chill
Wrap your completed laminated dough and refrigerate for 2 hours. This relaxes the gluten and firms up those butter layers for the final shaping.
Step 7: Shape Those Beautiful Buns
Roll the dough into an 18×10-inch rectangle. Combine your filling ingredients and sprinkle evenly over the surface. Roll up jelly-roll style from the long side, pinch the seam, and cut into 12 slices using a serrated knife in a sawing motion.
Step 8: Final Rise and Bake
Place cut buns in well-greased jumbo muffin cups, cut side down. Cover and let them rise for 45 minutes until almost doubled. Bake at 375°F for 16-20 minutes until golden brown.
Step 9: The Grand Finale
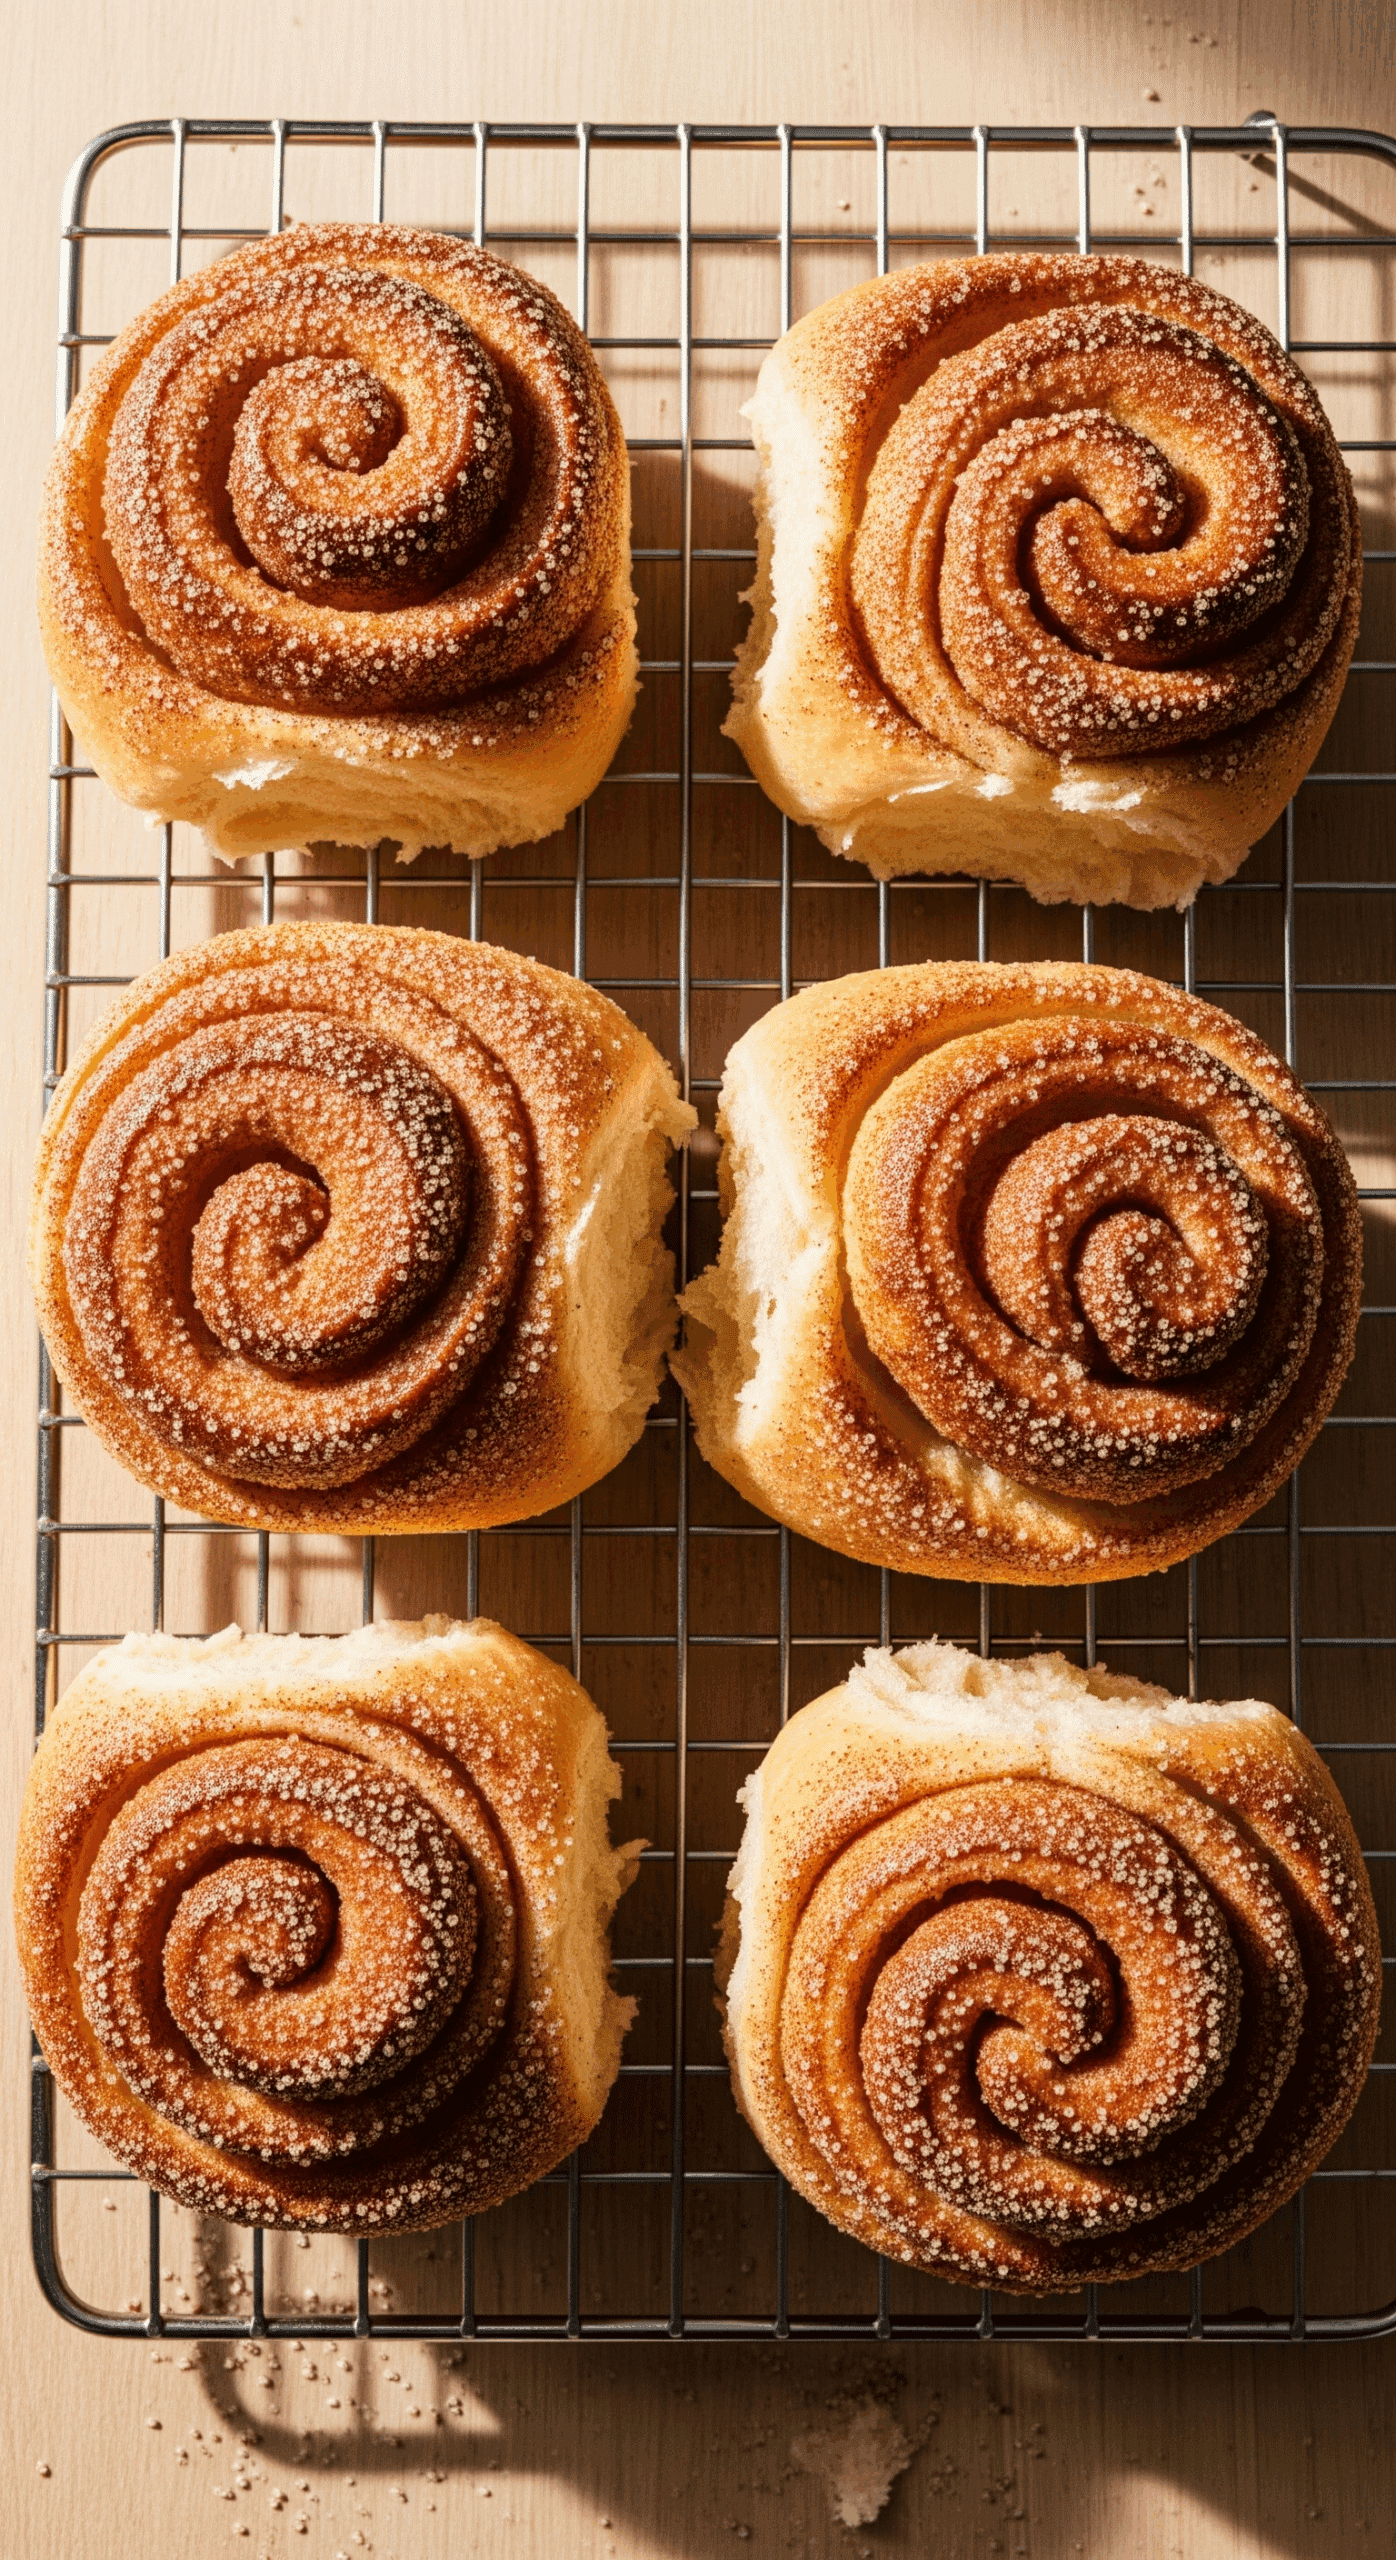
Let the buns stand in the pan for 5 minutes, then toss them in that cinnamon-sugar coating while they’re still warm. The coating will stick perfectly to the warm surface.

Making Your Morning Buns Look Bakery-Perfect
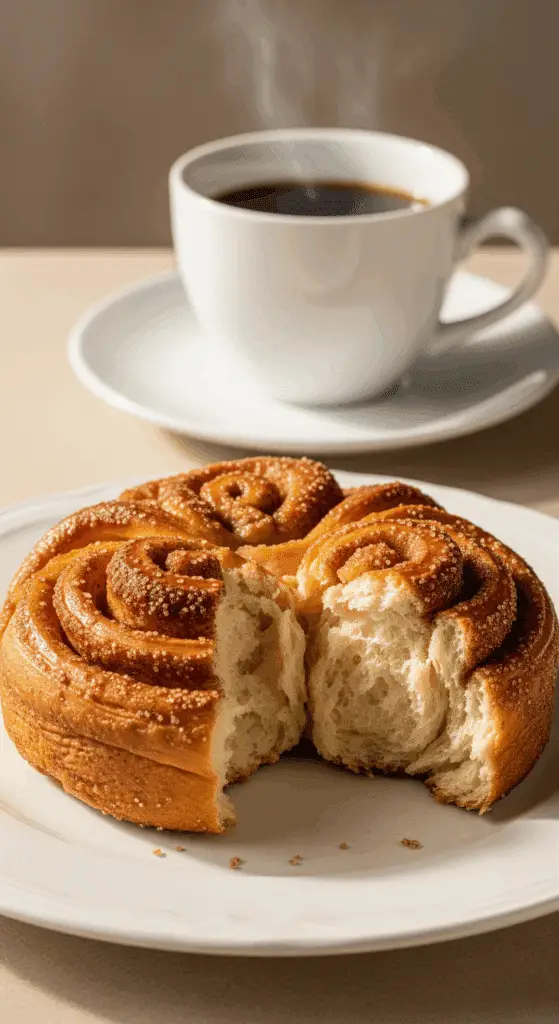
Let these beauties cool completely before serving to appreciate the full flaky texture development. When you tear them apart, you should be able to see distinct layers – that’s how you know you nailed the lamination.
The cinnamon-sugar coating should create this attractive sparkly finish that enhances the visual appeal. Serve them on individual plates with butter and jam options, or arrange on tiered serving stands for brunch presentations.
PrintMorning Buns That’ll Make You Question Every Store-Bought Pastry Decision
Morning buns are light, buttery, and flaky pastries made with laminated dough, filled with cinnamon sugar and orange zest, baked until golden, and rolled in a sweet cinnamon coating for the perfect breakfast treat.
Ingredients
- 1-1/2 cups butter, softened
- 1/3 cup all-purpose flour
- 1 package (1/4 ounce) active dry yeast
- 1/4 cup warm water (110° to 115°)
- 1 cup warm 2% milk (110° to 115°)
- 1/4 cup sugar
- 1 large egg, room temperature
- 1 teaspoon salt
- 3-1/2 to 3-3/4 cups all-purpose flour
- 1/2 cup sugar (for filling)
- 1 tablespoon grated orange zest
- 2 teaspoons ground cinnamon (for filling)
- 1 cup sugar (for coating)
- 1 tablespoon ground cinnamon (for coating)
Instructions
- In a bowl, beat butter and flour until combined; spread into a 12×6-in. rectangle on waxed paper. Cover and refrigerate for at least 1 hour.
- In a large bowl, dissolve yeast in warm water. Add milk, sugar, egg, salt, and 2 cups flour; beat until smooth. Stir in enough remaining flour to form a soft dough. Knead until smooth and elastic, about 6-8 minutes. Roll dough into a 14-in. square.
- Remove butter from refrigerator, let stand a few minutes. Remove waxed paper and place butter onto half the dough. Fold dough over butter; seal edges.
- Roll into a 15×9-in. rectangle, fold into thirds. Repeat rolling and folding twice, rotating dough 90° each time. Wrap dough and refrigerate 2 hours.
- In a small bowl, mix sugar, orange zest, and cinnamon. Roll dough into an 18×10-in. rectangle. Sprinkle with sugar mixture. Roll up jelly-roll style and pinch seam to seal. Cut into 12 slices.
- Place slices into greased jumbo muffin cups, cut side down. Cover and let rise until nearly doubled, about 45 minutes.
- Bake at 375° for 16-20 minutes until golden brown. Let stand 5 minutes before removing from tins.
- In a bowl, mix sugar and cinnamon for coating. Toss warm buns in coating and let cool completely.
Notes
- If butter softens too much while rolling, refrigerate dough before continuing.
- Best enjoyed the same day for maximum freshness.
- Use a serrated knife to cut clean slices of the dough log.
Storage and Make-Ahead Magic
Store in an airtight container at room temperature for up to 3 days. The flaky texture maintains well when properly stored away from moisture.
Make-ahead strategy: You can prepare through the lamination process and refrigerate the dough for up to 2 days. Shape and bake when you’re ready to serve for optimal freshness.
Advanced planning: Complete the recipe through the final rise, then refrigerate overnight. Bake directly from the refrigerator, just add 2-3 minutes to the baking time.
Freezing trick: Freeze baked buns without coating for up to 3 months. Thaw completely, warm briefly in the oven, then coat with cinnamon sugar for that fresh taste.
Fun Variations to Keep Things Exciting
Once you’ve mastered the basic Morning Buns, it’s time to get creative:
Apple Cinnamon Version: Add finely diced apples to the filling mixture along with a pinch of nutmeg. The apples provide moisture and complementary flavor to that orange zest.
Chocolate Orange Decadence: Include mini chocolate chips in the filling and replace the regular coating with a mixture of cocoa powder, cinnamon, and sugar for a decadent twist.
Maple Pecan Magic: Replace orange zest with maple extract and add chopped pecans. Use maple sugar in the coating for enhanced fall flavors.
Savory Herb Version: Skip the sweet filling and coating entirely – use a mixture of herbs, garlic, and parmesan cheese for a sophisticated savory option.
The Health Reality Check
Each bun has about 427 calories, which is definitely indulgent but reasonable for such a special pastry. The orange zest provides vitamin C and natural oils with antioxidant benefits, while the enriched dough contributes protein and B vitamins.
The moderate portion size allows you to enjoy this special pastry, and the complex carbohydrates provide sustained energy. The lamination technique creates such satisfying texture that one bun is actually quite filling.
Perfect Breakfast Pastries to Pair with Your Morning Buns
Now that you’ve mastered these incredible Morning Buns, let’s talk about creating the ultimate weekend breakfast spread! These advanced pastries work beautifully as part of a bigger breakfast pastry collection.
If you want to offer different textures while maintaining that weekend bakery vibe, my blueberry cake donuts are absolutely perfect alongside these buns. They provide a lighter, more approachable option for people who might be intimidated by the flaky complexity of laminated pastry, plus the blueberry flavors create a nice contrast to the orange cinnamon combination.
For those times when you want to offer the cinnamon roll experience but in a quicker format, try my pumpkin cinnamon roll muffins. They’ve got that same cozy spiced flavor profile but without the advanced technique, making them perfect for when you want variety without spending your entire weekend in the kitchen.
And here’s where I get really excited about breakfast variety – add some cottage cheese cinnamon rolls to create this incredible range of cinnamon-spiced options! The cottage cheese rolls offer a lighter, protein-packed alternative that balances out the richness of these Morning Buns, giving everyone different levels of indulgence to choose from.
Having multiple breakfast pastry formats creates this amazing weekend bakery spread where you can showcase different techniques and satisfy various preferences. It’s like turning your kitchen into a boutique breakfast café!
Want more advanced baking inspiration and weekend project ideas? I’m constantly experimenting with new pastry techniques and sharing challenging but rewarding recipes over on my Pinterest – you’ll find tons of ways to elevate your weekend baking game!
Pro Tips for Lamination Success
Temperature management is everything: Monitor that butter temperature carefully throughout the process. Use an instant-read thermometer to maintain the 55-60°F range for optimal results.
Test your dough development: Properly kneaded dough should pass the windowpane test – stretch a small piece until it’s thin enough to see through without tearing.
Understand the science: Each fold creates exponentially more layers. Three letter folds create 27 layers of butter between dough sheets – that’s where the magic happens.
Cutting technique matters: Use a sharp serrated knife in a sawing motion to avoid compressing those delicate layers when slicing the rolled dough.
Troubleshooting When Things Go Wrong
Butter breaking through the dough? Your butter was too cold or you overworked the dough. Let the butter warm slightly and handle the dough more gently.
Poor layer definition? Either your butter was too warm or you didn’t chill adequately between folds. Temperature control is crucial.
Dense texture? Usually from overproofing or inadequate lamination. Follow the timing guidelines and make sure you’re doing the folds properly.
Uneven baking? Your oven has hot spots or the pan was overcrowded. Rotate pans halfway through and give the buns adequate spacing.
Final Thoughts on These Amazing Morning Buns
I’ve been making these Morning Buns for a couple of years now, and they represent the pinnacle of breakfast pastry craftsmanship. The time investment is significant, but you’re essentially learning the same techniques used for croissants and puff pastry – skills that’ll serve you well in other advanced baking projects.
The combination of lamination techniques with comforting cinnamon-sugar flavors creates something truly exceptional that rivals professional bakery quality. That orange zest addition provides a signature twist that makes these buns uniquely memorable.
These Morning Buns have become my ultimate weekend baking project – the kind of thing I make when I want to challenge myself and create something truly special. They’re proof that sometimes the most rewarding recipes require patience and technique, but the results are absolutely worth every minute of effort.
So if you’re ready to take your baking skills to the next level and create something that’ll have people talking for weeks, give these a try. Clear your weekend schedule, put on some good music, and enjoy the process of creating something truly extraordinary.
Frequently Asked Questions
What temperature should the butter be for lamination?
Maintain butter temperature between 55-60°F throughout the process. It should be pliable but not soft, similar to the consistency of the dough for best results.
Can I make the dough without a stand mixer?
Yes, mix by hand and knead manually for 8-10 minutes until smooth and elastic. The process takes longer but produces equally good results with patience.
Why do my layers disappear during baking?
Butter too warm during lamination or overproofing causes layers to merge. Maintain proper temperatures and don’t let buns rise beyond almost doubled.
How do I know when the buns are properly proofed?
Properly proofed buns should be almost doubled in size and feel light when gently touched. Overproofed buns collapse and lose layer definition.
Can I prepare these without jumbo muffin tins?
Regular muffin tins work but reduce baking time to 12-15 minutes. You can also bake in regular baking dish like traditional cinnamon rolls.
What’s the best way to reheat day-old buns?
Warm in 300°F oven for 5-8 minutes to restore flakiness. Avoid microwaving as it makes pastry tough and eliminates the crispy texture.

