It’s mid-March, and the St. Patrick’s Day buzz is lighting up my kitchen with a craving for something fun and festive. That’s when Pot O’ Gold Cups stole my heart—a whimsical treat I whipped up last year for a last-minute party. Picture this: I had a box of brownie mix, some leftover whipped cream, and a wild idea to make dessert magic. In just 5 minutes of prep, I had adorable brownie cups topped with rainbows and a sprinkle of gold—my guests went wild, and the kids couldn’t stop giggling over the “treasure.” These little delights are the perfect mix of fudgy, sweet, and playful, making them a star for 2025’s love of quick party treats. Let’s dive into this lucky tale—I’ll walk you through every step to make your Pot O’ Gold Cups a hit, whether it’s a holiday bash or a cozy night in.
Must-Have Kitchen Tools
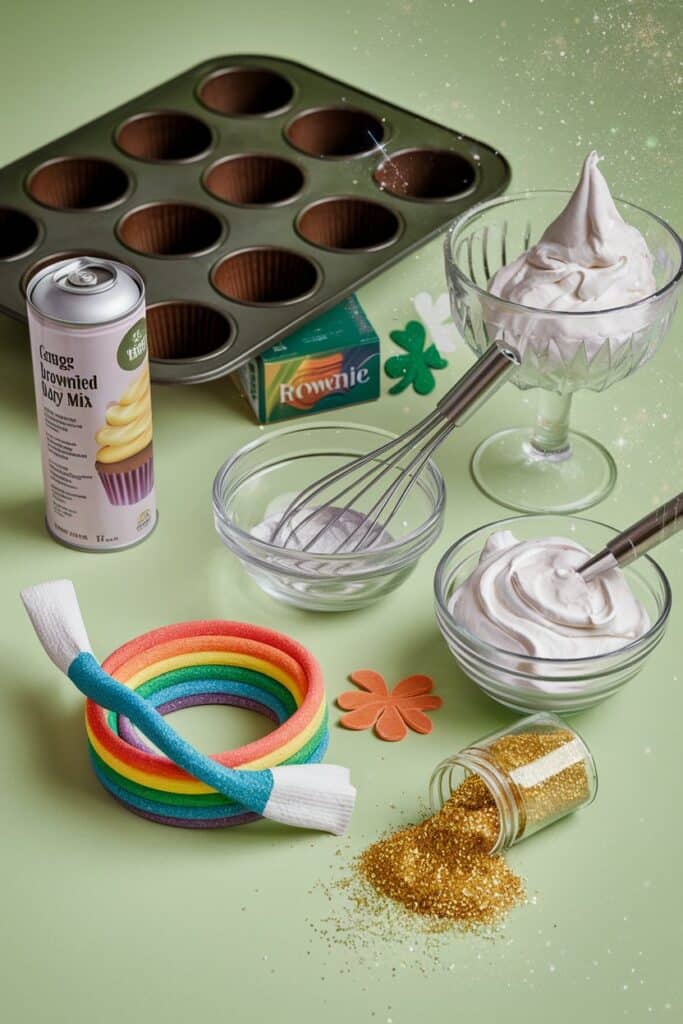
Before we start, let’s gather the gear. You don’t need a leprechaun’s workshop to create Pot O’ Gold Cups, but a few tools make it a breeze. A 12-cup muffin tin is your foundation—this nonstick gem pops treats out effortlessly, grab it here. I’ve used it for everything from muffins to these cups, and it’s a lifesaver. A shot glass shapes those perfect wells—any small glass works, but this set is handy for baking and sipping. And a spoon or small scoop dollops the whipped cream—this set is my go-to for precision. Disclosure: This post contains affiliate links, meaning I may earn a small commission if you purchase through them, at no extra cost to you. With these in your kitchen, you’re ready to craft some gold.
Understanding the Ingredients
The charm of Pot O’ Gold Cups comes from their simple yet clever ingredients—let’s unpack why they work so well. The box of brownie mix (plus its called-for extras like eggs, oil, and water) is your fudgy base—store-bought keeps it quick, but the rich chocolate flavor feels homemade. Cooking spray ensures those brownies slide out clean, no sticking allowed—a must for quick party treats. Two rainbow candy belts bring the St. Paddy’s magic—chewy, colorful strips that arch like a real rainbow, delighting kids and adults alike. Whipped cream (2 cups) adds a light, creamy cloud—store-bought Cool Whip saves time, but homemade works too. And gold sanding sugar sprinkles on the treasure—its shimmer turns these into St. Patrick’s Day desserts that sparkle. Together, they’re a fast, festive masterpiece.
Ingredients
Here’s what you’ll need for Pot O’ Gold Cups (makes 12):
- Cooking spray, for the pan
- 1 box brownie mix, plus ingredients called for on the box (typically eggs, oil, water)
- 2 rainbow candy belts
- 2 cups whipped cream, for decorating
- Gold sanding sugar, for decorating

These everyday finds transform into St. Patrick’s Day desserts with a sprinkle of creativity—perfect for a fun bake.
Step-by-Step Instructions
Let’s make these lucky cups together—here’s every detail to shine.
Step 1: Prep the Oven and Tin
Preheat your oven to 350°F and grease a 12-cup muffin tin with cooking spray—coat every nook for easy release. This sets the stage for your Pot O’ Gold Cups to pop out perfectly.
Step 2: Mix and Bake the Brownies
Prepare the brownie mix according to the box—usually a quick stir of eggs, oil, and water until smooth. Spoon the batter into the muffin tin, filling each cup about two-thirds full. Bake for 25 to 30 minutes, until a toothpick comes out with just a few crumbs—fudgy is the goal. While they’re still hot, press a shot glass into the center of each brownie to make a shallow cup. Let them cool completely in the tin—patience here makes them sturdy.
Step 3: Cut the Rainbows
Snip the rainbow candy belts into 2-inch strips with scissors—each one’s a mini arc of color. You’ll need 12 strips, one for each cup, so cut carefully to keep them even.
Step 4: Assemble the Magic
Once cooled, dollop a generous scoop of whipped cream into each brownie cup—use a spoon or small scoop for neatness. Sprinkle with gold sanding sugar—go heavy for that treasure vibe. Top each with a rainbow candy strip, bending it into a semicircle to mimic a rainbow over your pot of gold. Your Pot O’ Gold Cups are now pure St. Paddy’s joy.
Tips for the Best Pot O’ Gold Cups
Here’s how to make them extra special, from my kitchen to yours:
- Brownie Boost: Add a teaspoon of vanilla to the mix for deeper flavor—elevates quick party treats.
- Cooling Hack: Pop the tin in the fridge for 10 minutes post-baking—speeds up assembly.
- Candy Swap: No rainbow belts? Use gummy worms or sour strips—still cute and tasty.
- Gold Glow: Mix gold sugar with edible glitter for mega sparkle—perfect for St. Patrick’s Day desserts.
That glitter idea came from a party where I wanted more pizzazz—it turned heads and got tons of pins!
Nutritional Info
Per cup (based on 12, using Cool Whip):
- Calories: 208
- Protein: 2g
- Fat: 10g
- Carbs: 28g
- Sugar: 20g
- Sodium: 150mg
They’re a light indulgence—ideal for quick party treats that won’t weigh you down.
PrintPot O’ Gold Cups
Pot O’ Gold Cups: Fudgy brownie cups with rainbows and gold, ready in 5 minutes prep! Perfect St. Patrick’s Day desserts or quick party treats!
Ingredients
- Cooking spray, for the pan
- 1 box brownie mix, plus ingredients called for on the box (typically eggs, oil, water)
- 2 rainbow candy belts
- 2 cups whipped cream, for decorating
- Gold sanding sugar, for decorating
Instructions
Step 1: Prep the Oven and Tin
Preheat your oven to 350°F and grease a 12-cup muffin tin with cooking spray—coat every nook for easy release. This sets the stage for your Pot O’ Gold Cups to pop out perfectly.
Step 2: Mix and Bake the Brownies
Prepare the brownie mix according to the box—usually a quick stir of eggs, oil, and water until smooth. Spoon the batter into the muffin tin, filling each cup about two-thirds full. Bake for 25 to 30 minutes, until a toothpick comes out with just a few crumbs—fudgy is the goal. While they’re still hot, press a shot glass into the center of each brownie to make a shallow cup. Let them cool completely in the tin—patience here makes them sturdy.
Step 3: Cut the Rainbows
Snip the rainbow candy belts into 2-inch strips with scissors—each one’s a mini arc of color. You’ll need 12 strips, one for each cup, so cut carefully to keep them even.
Step 4: Assemble the Magic
Once cooled, dollop a generous scoop of whipped cream into each brownie cup—use a spoon or small scoop for neatness. Sprinkle with gold sanding sugar—go heavy for that treasure vibe. Top each with a rainbow candy strip, bending it into a semicircle to mimic a rainbow over your pot of gold. Your Pot O’ Gold Cups are now pure St. Paddy’s joy.
FAQs
Real answers from my baking adventures:
Can I make them ahead?
Bake the cups a day early, store at room temp, and top with cream and candy before serving.
No muffin tin?
Use a mini brownie pan—just adjust bake time to 20-25 minutes.
Can I use homemade brownies?
Sure—use your fave recipe, but keep it fudgy for shaping.
Why’d my cups collapse?
Press the shot glass gently—too hard crumbles them; cool fully before topping.
Conclusion
Pot O’ Gold Cups are pure festive fun—a quick, fudgy treat that brings St. Patrick’s Day to life with every bite. In 2025, we’re loving quick party treats that dazzle without the fuss, and these brownie cups with their rainbows and gold are a Pinterest dream. Whether it’s a holiday party, a kiddo snack, or a sweet surprise, Pot O’ Gold Cups deliver joy in 5 minutes flat. Grab your muffin tin (like this one), whip up a batch, and watch the smiles spread—I guarantee they’ll be a hit. Pin your adorable cups with #PotOGoldCups or tag me below—I’m dying to see your creations! Want more St. Patrick’s Day desserts? Follow my Pinterest for treats that make every celebration a little luckier—your dessert table deserves this magic.

